Using OAuth 2.0 Authorization framework

Using
OAuth 2.0 Authorization framework
This article describes, how third-party application access
information from resource owners using OAuth2 framework.
OAuth ???
Open-standard authorization framework
it provides secure designated access to application. It never uses password, but authorization
tokens are used to prove identity of service providers and consumers. OAuth act
as valet key of car. Following figure shows the work flow of OAuth 2 framework.
 In OAuth 2.0 following roles are identified.
- Resource Owner
- Resource Server
- Client
- Authorization Server.
Authorization grant types
- Authorization code grant type: this grant type used by native apps and web apps, here client has to be confidential.
- Implicit grant type: this is implemented for client-side scripting, here clients are public.
- Client credentials grant type: this type is used to server to server communication.
- Resource Owner password credentials grant type: trusted apps are use this grant type.
Authorization code
grant type
Following figure shows how authorization code grant type works. The above flow can be stated as follows.
- Direct the user to the OAuth server.
- User approves the app request.
- Redirect the user to the application (authorization code is sent as a query parameter)
- Authorization code get exchanged to an access token.
A native app to
access protected user information.
For this scenario Facebook app
taken as third-party application and Facebook Endpoint used as resource owner.
Bellow steps are followed to implement above mentioned scenario. This is based
on Authorization code grant type.
Project environment
setup.
At the initial, need to create Facebook Developer account,
which can create using below link.

After login to the account, need to create Facebook app.

It will prompt a dialog box to enter name for the app and
email address of Facebook account.

After creating new app, it will redirect to the Dashboard of
created app.

In Dashboard click Facebook Login Set UP to set up the platform.

Go to Setting tab on the left
side panel and click on Basic.
Here need to set App Domain as localhost.

After that go to Facebook Login
tab under the PRODUCT category.

Now Facebook developer account
app is created. By using this app, native app can access user details from
Facebook.

Above figure shows the code segment to access Facebook
details here in appID need to provide crated app’s Client ID.


After finishing implementation type "npm start" to run the application.

Here click on Login with Facebook button. It will redirect
to the Facebook login page.

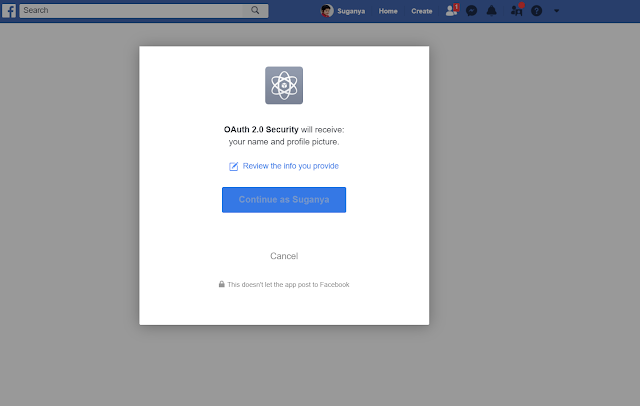
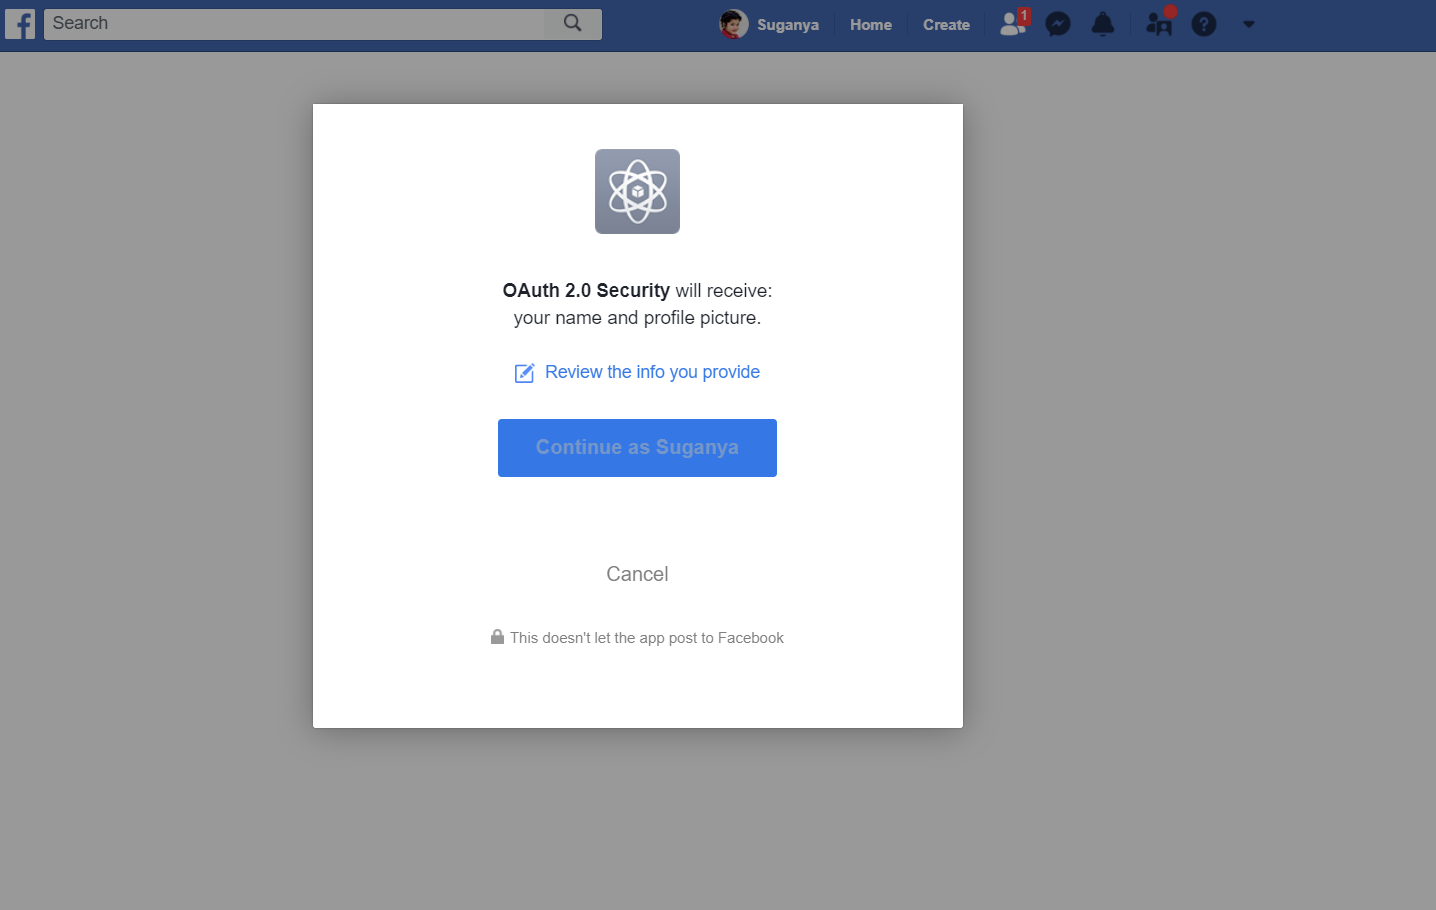
After login, user will redirect to User Content Page of
Facebook, which will prompt dialog box to give privileges to the application. Here
user can limit the resource that application use.

After clicking continue button, created native application
can use those data, which are coming from Facebook.

Finally react app is built with Facebook authentication.
A web app to access
protected user information
Download or clone the application from GitHub
link from https://github.com/Sugan-s/OAuth-Maven-Webapp.git and run it(Spring boot web application which is use Facebook resources using OAuth 2 framework).

Then run the application
and go to the http://localhost:8080/facebook
link and click login with Facebook.

In this case access permission limited. Application can only
use the user name of the Facebook.


This article describes, how third-party application access
information from resource owners using OAuth2 framework.
OAuth ???
Open-standard authorization framework
it provides secure designated access to application. It never uses password, but authorization
tokens are used to prove identity of service providers and consumers. OAuth act
as valet key of car. Following figure shows the work flow of OAuth 2 framework.

In OAuth 2.0 following roles are identified.
- Resource Owner
- Resource Server
- Client
- Authorization Server.
Authorization grant types
The
way of getting access token is called as grant type. Following are the 4 main
grant types.
- Authorization code grant type: this grant type used by native apps and web apps, here client has to be confidential.
- Implicit grant type: this is implemented for client-side scripting, here clients are public.
- Client credentials grant type: this type is used to server to server communication.
- Resource Owner password credentials grant type: trusted apps are use this grant type.
Authorization code grant type
Following figure shows how authorization code grant type works.

The above flow can be stated as follows.
- Direct the user to the OAuth server.
- User approves the app request.
- Redirect the user to the application (authorization code is sent as a query parameter)
- Authorization code get exchanged to an access token.
A native app to access protected user information.
For this scenario Facebook app
taken as third-party application and Facebook Endpoint used as resource owner.
Bellow steps are followed to implement above mentioned scenario. This is based
on Authorization code grant type.
Project environment setup.
At the initial, need to create Facebook Developer account,
which can create using below link.

After login to the account, need to create Facebook app.
Click on Create App option under My Apps menu.
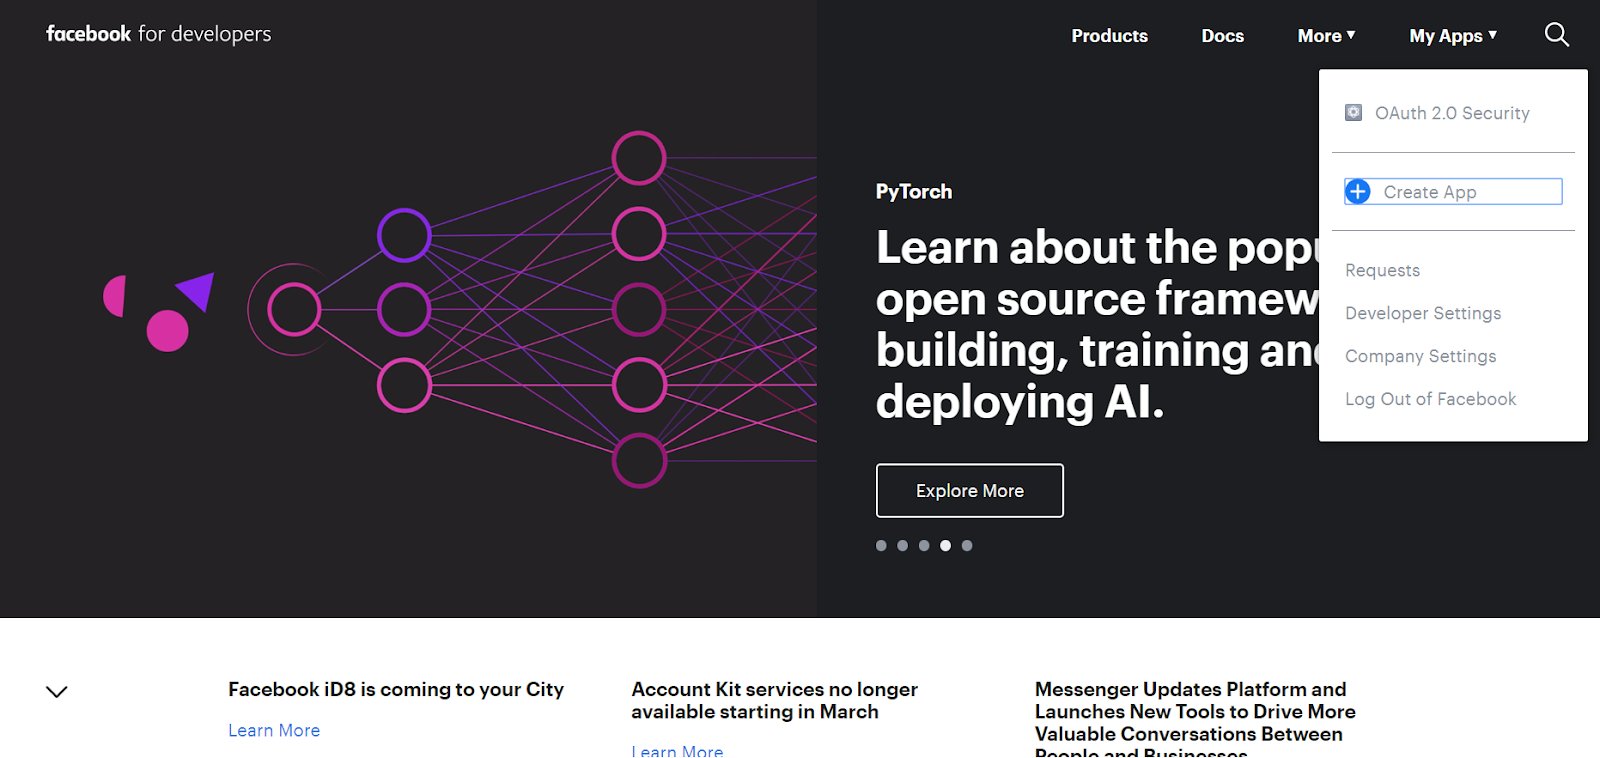
It will prompt a dialog box to enter name for the app and
email address of Facebook account.

After creating new app, it will redirect to the Dashboard of
created app.

In Dashboard click Facebook Login Set UP to set up the platform.

Go to Setting tab on the left
side panel and click on Basic.
Here need to set App Domain as localhost.

After that go to Facebook Login
tab under the PRODUCT category.

Now Facebook developer account
app is created. By using this app, native app can access user details from
Facebook.
Then create React Native app by
following steps (windows platform).
First open the command front and
type "npx create-react-app app-name" (make
sure npm package manager is installed.), it will create react app.
Then type "cd app-name" and "code ."
Created react app project will
open in VS code.
After that open terminal and type "npm install react-facebook-login" it
will download React Facebook Login component to created app.
Now can start the coding part of
the project.
Create Facebook.js page and
implement the code to render details from Facebook.

Above figure shows the code segment to access Facebook
details here in appID need to provide crated app’s Client ID.
Following figures shows the full code segment to retrieve
the data (Facebook.js).


After finishing implementation type "npm start" to run the application.
Now react application running. Go to https://localhost:3000 to view the
application.

Here click on Login with Facebook button. It will redirect
to the Facebook login page.

After login, user will redirect to User Content Page of
Facebook, which will prompt dialog box to give privileges to the application. Here
user can limit the resource that application use.

After clicking continue button, created native application
can use those data, which are coming from Facebook.

Finally react app is built with Facebook authentication.
Download or clone the source code from:
A web app to access protected user information
Download or clone the application from GitHub
link from https://github.com/Sugan-s/OAuth-Maven-Webapp.git and run it(Spring boot web application which is use Facebook resources using OAuth 2 framework).
Before running the project need
to modify the application.yml file, where need to specify ClientID and
clientSecret.

Then run the application
and go to the http://localhost:8080/facebook
link and click login with Facebook.

In this case access permission limited. Application can only
use the user name of the Facebook.

Comments
Post a Comment